Food for life wrapped in sustainable food packaging
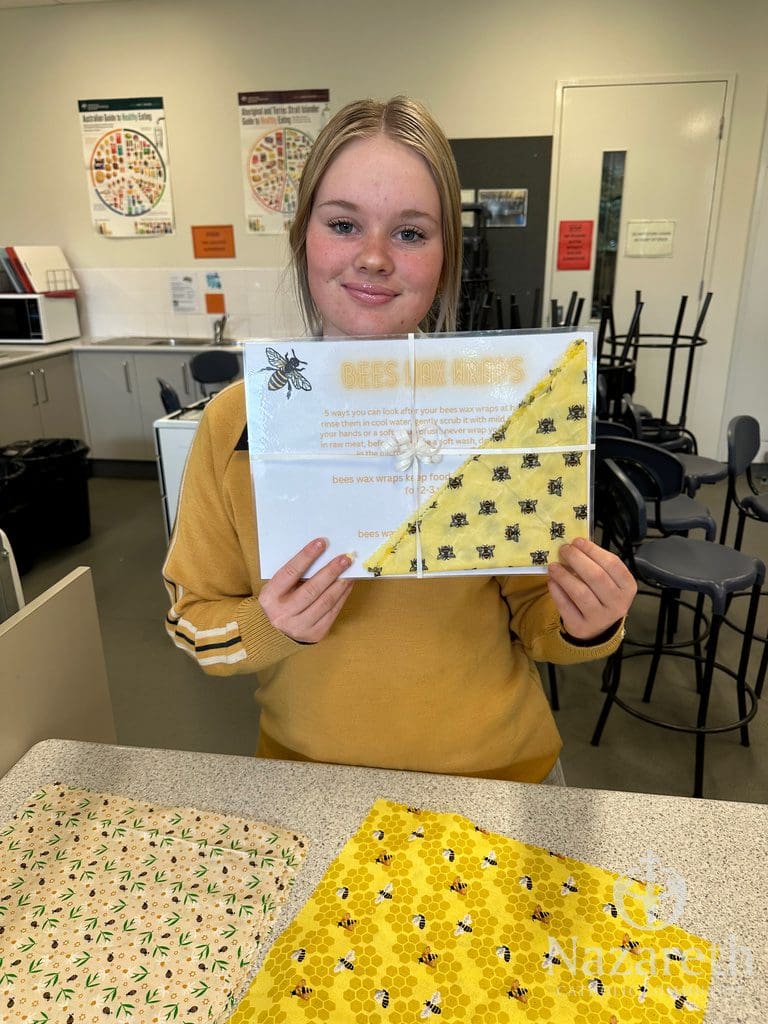
To wrap up their learning in Term 4, Year 8 Food for Life classes handmade beeswax food wraps as part of their ‘Sustainable Food Packaging’ unit of work.
Food wraps made with beeswax and fabric can be used for covering food and dishes as a sustainable alternative to single-use plastic. They are designed to be used again and again for up to 12 months, and are even compostable at the end of their life.
Just as the students made theirs, you can DIY your own beeswax wraps too. You can even repurpose old fabric for this project.
This recipe acknowledges Sustainable Packaging Solutions
Beeswax Food Wrap
(Serves 2)
Equipment
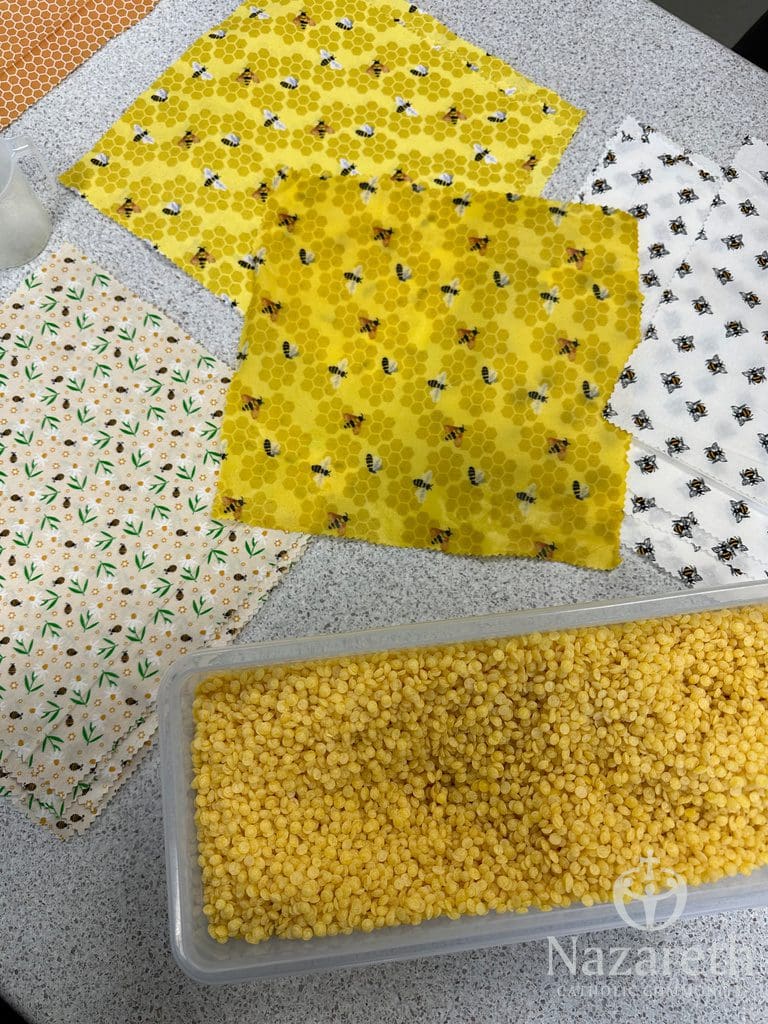
Piece of 100% cotton fabric
½ cup grated beeswax
Fabric scissors
Baking tray
Baking paper
Grater (retired from kitchen use)
Paintbrush or pastry brush
Tongs
Pegs and line to hang food wraps
Method
Preheat oven to 100°C
Cut the fabric into pieces using the fabric scissors. Consider how you will use the beeswax wraps in the kitchen. Circles are ideal for sealing jars or bowls, while rectangles and squares (20cm or 30cm in size) are ideal for wrapping food such as sandwiches
Line the baking tray with baking paper and place pieces of fabric onto the tray
Grate the beeswax. Sprinkle the grated beeswax lightly and evenly over the pieces of fabric
Place the tray in the preheated oven for about 5 minutes or until beeswax has melted
Remove from the oven and place the trays on a flat, heatproof surface
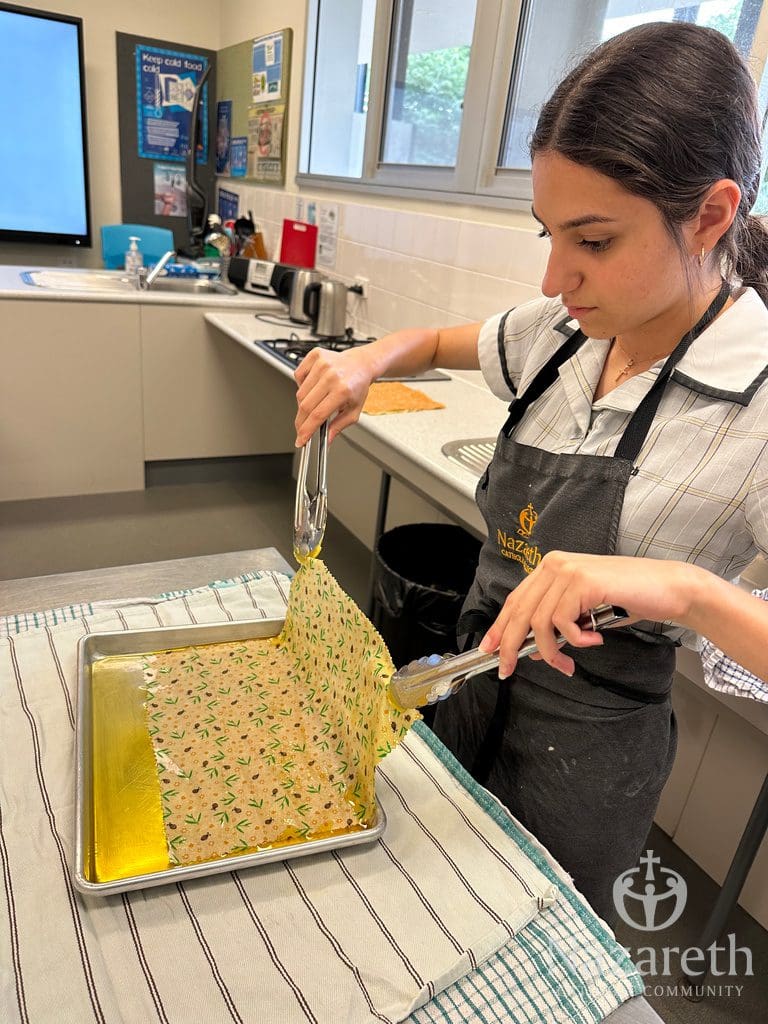
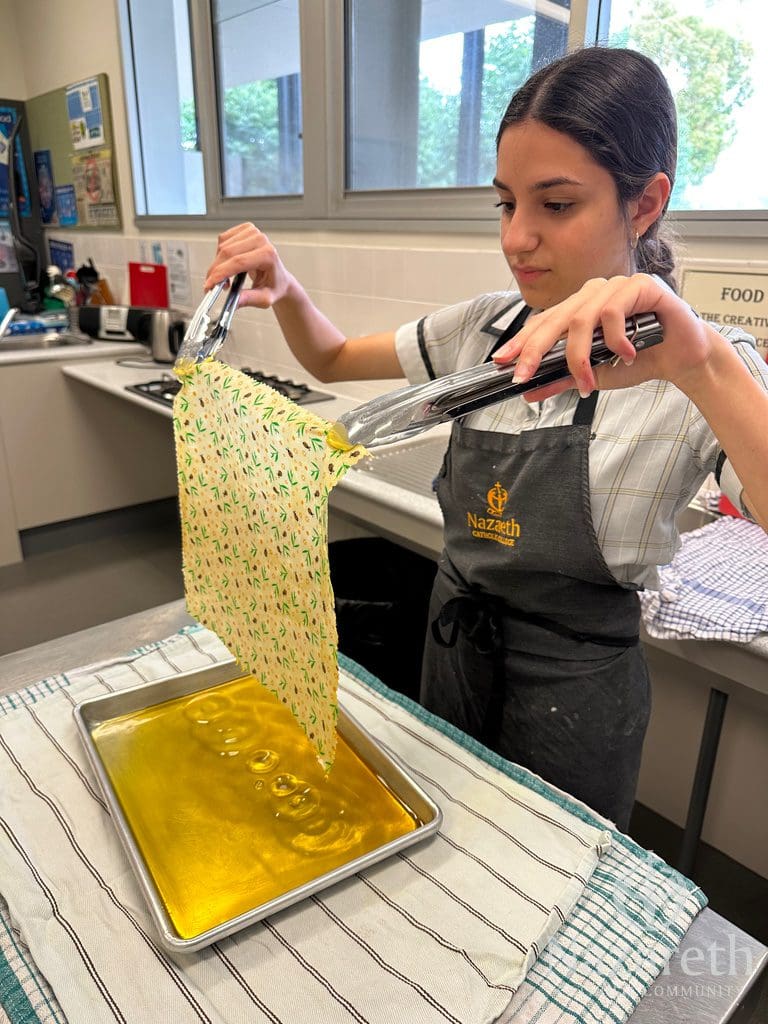
Spread the melted wax evenly on the fabric with the paintbrush / pastry brush. Make sure the fabric is evenly coated with the wax. If the wax starts to harden before it has been spread, reheat the oven and try again. The beeswax melts through the fabric, so you only need to brush one side for the wrap to be coated in wax on both sides
Remove the food wraps from the baking sheets with tongs and hang on a line until the wax has cooled and set
Ongoing Care Instructions
Wash your homemade beeswax wraps with cold to lukewarm water and mild soap. Avoid using hot water since it can melt the wax. You can also wipe them down with a damp cloth. Allow the wraps to air dry and then store them in a cool, dry place. Once fully dry, simply fold them up and tuck them away.
Homemade beeswax wraps should withstand several uses. Once they become old, thin, and/or less sticky, it is easy to refresh them! – simply tuck the old wraps back in the warm oven with a small sprinkle of beeswax to provide a fresh new coating.
At the end of their life, dispose as compost – since they’re made from natural materials, beeswax wraps are 100% biodegradable.